View Plans for this glider.
Some History from my perspective
A few years ago everyone that was involved in free flight hand launch gliders were throwing the glider like one would throw a baseball or javelin. I first witnessed another style of throwing, discus launch or tip launch at the Kibbie dome in 2005. There, I watched Mark Benn set a new world record in F1N. He set the record with a DLG. What was even more impressive was one evening Mark and a group of competitors went out to a nearby field and Mark demonstrated a large outdoor DLG. It was very impressive. That fall (September of 2005) after seeing Mark throw and fly, I built a ZIP DLG RC glider, this is a kitted model available from Hobby Lobby. I worked on learning to throw a DLG and tried to understand how to get the glider to transition well. When I used the radio to control the model I could make perfect transition, but without input from the ground the transition was inconsistent and poor.
My next attempt to fly DLG was in April of 2006. Here I was planning on flying a DLG at the Indoor NATS in Johnson City, Tennessee. After about 6 launches and 6 major repairs I gave up on the idea.
Then, at the 2006 Outdoor NATS in Muncie, Indiana, Bruce Kimball flew a very impressive DLG model and won the Hand Launch Glider Outdoor NATS. I believe Bruce’s model was a Mark Benn Spin-UP. Bruce’s launches were very consistent and impressive. So, with Bruce’s permission, I carefully studied his plane in detail and decided to give DLG another try. It should be noted that the Spin-UP 36 is a kit sold by Len Surtees (http://www.stingaeroproducts.aunz.com).
Learning from the RCer
Discus launching is nothing new to the RC glider flyers. About ten years ago everyone was throwing RC gliders baseball style or javelin style. Then, discus gliders appeared and today dominate the sport. Now, almost all the RC glider flyers throw discus. Clearly, throwing discus can enable a less fit person to get the glider to go higher, with less physical strain on his body. So, it was only a matter of time before free flyers were going to figure out how to make a free flight DLG work.
Some Earlier Attempts at DLGs
Just for the record, I am aware that there have been other free flight DLGs that have been built and fly well. Most of them have had auto-surfaces, meaning that timers or other devices change the trim of the model after in has been launched, similar to RC except everything is predetermined. If you like timers and complex systems, then models with auto-surfaces is something you should investigate.
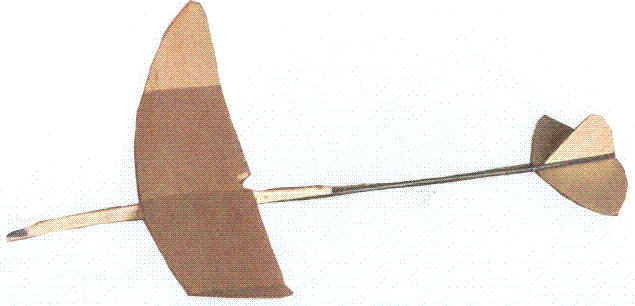
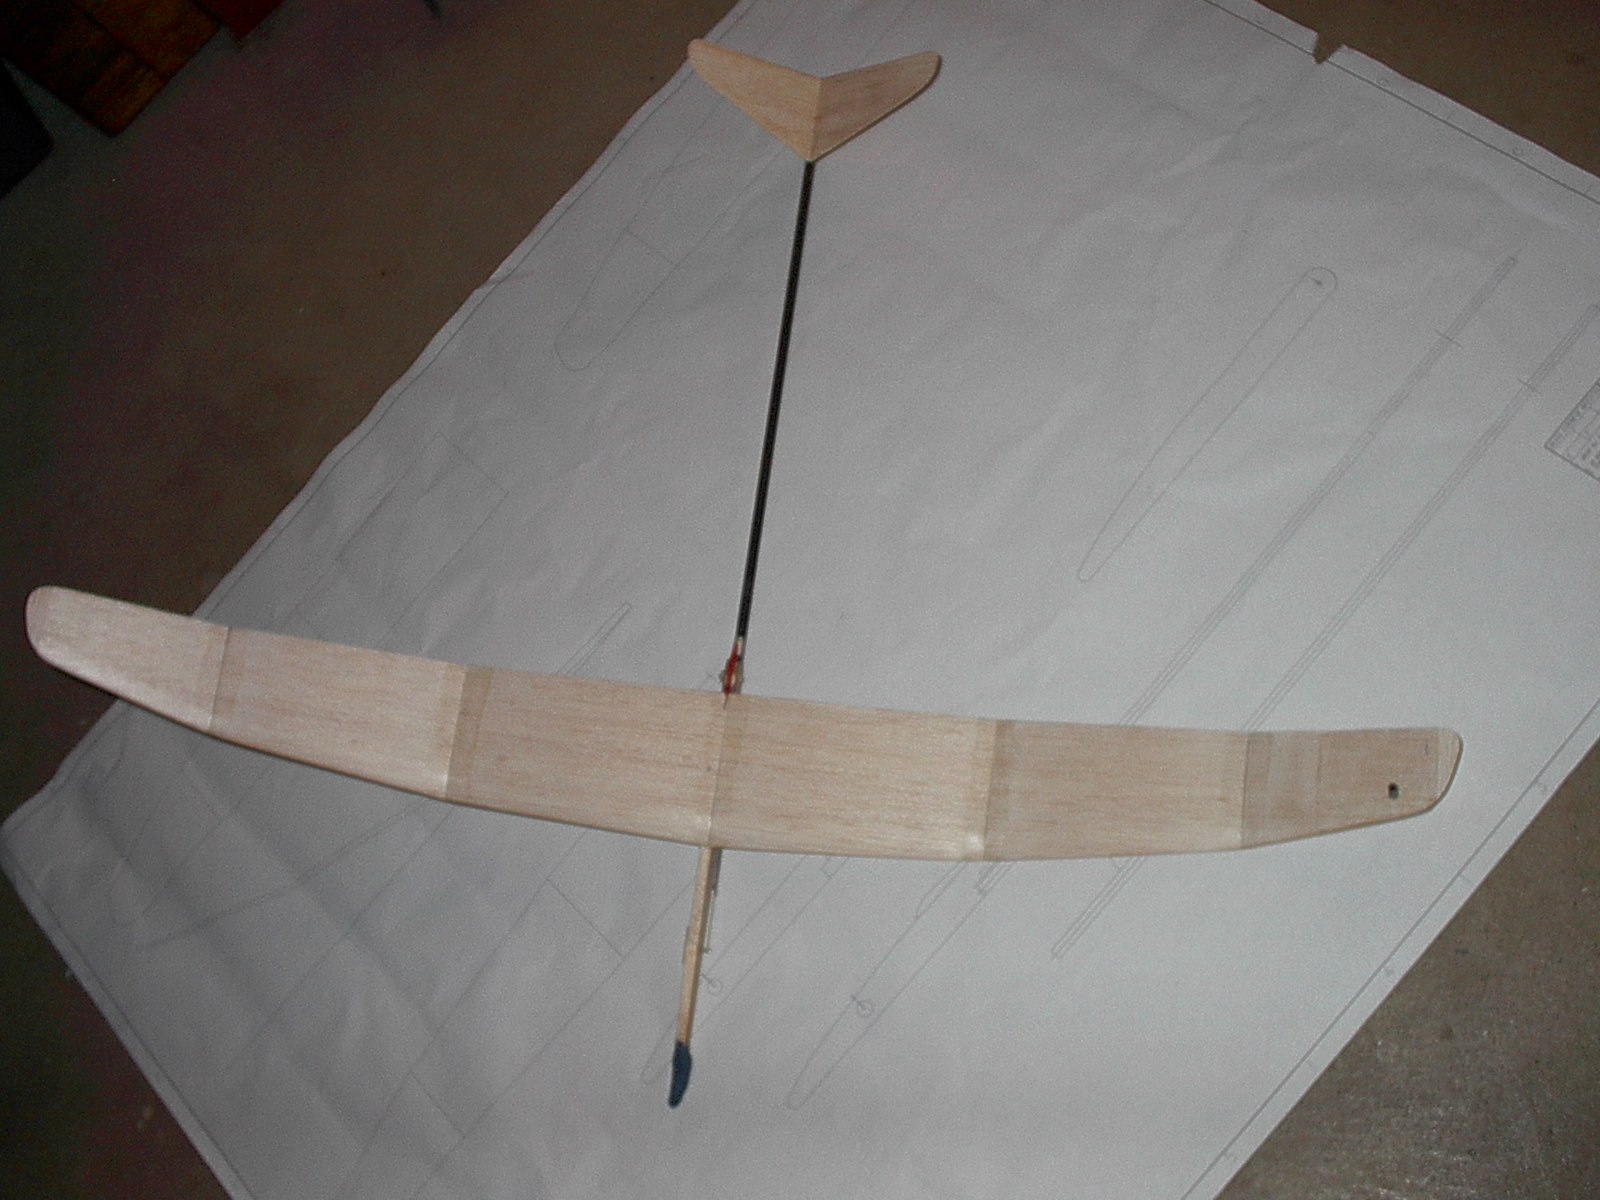
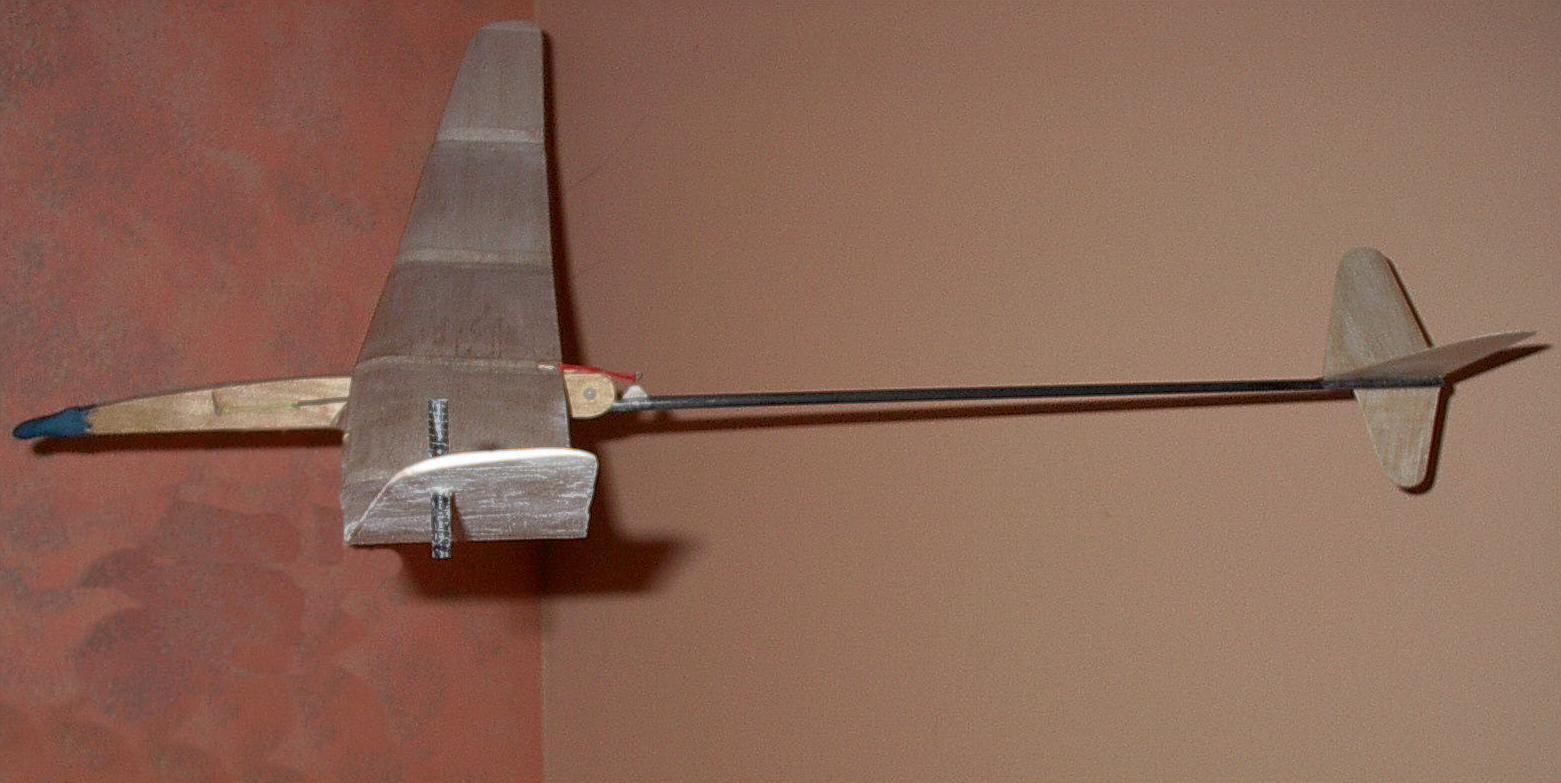
The Round-A-Bout
The Round-A-Bout is my third attempt at getting a free flight DLG to fly well. The Spin-Up 36 by Mark Benn and the Monster by Tetsuo Itch, from Japan, is the basis for the Round-A-Bout. I wanted to stay away from auto-surfaces. I have problems just making a DT to work well! The first DLG I built flies great. After about one hundred and fifty throws, the Round-A-Bout transitions well all the time, with the exception of the time I changed the incidence and it was too negative.
Spreading the Word
When I build any model, I need plans. If it is my design, then I draw them up myself, sometimes not very detailed, but I need something to enable me to construct the model. After flying my first Round-A-Bout, I was so excited and pleased with the way the plane flew that I sent my plans to my good friend Stan Buddenbohm. About a week later, Stan called me and thanked me for sending the plans that inspired him to design and build a DLG. He reported that his DLG also transitions very well and flies good. This has inspired me to put a little more detail on my plans and make them available to all. The plans of the Round-A-Bout are available here. I hope these plans can inspire you to all try out DLG. You can build the Round-A-Bout as drawn or you can use it for the basis of your design. It’s your choice.
Trimming the Round-A-Bout
Basically, the Round-A-Bout is trimmed like any other HLG, but the pattern is different. I throw the model by the peg in the left wing with my right arm. My pointer finger is on top of the wing and my middle finger is below the wing. Don’t grab the peg, just let the peg rest on your fingers with the model basically hanging down from your side. I make one revolution (counter-clockwise). For the first part of this revolution (1/2 of the revolution) you want the model to start “flying”, getting the wings level with the model about shoulder high. You are not spinning fast at this time. The second half of the revolution is were you speed up, trying to spin as fast as possible, at the same time you want to try to get the left wing down at about a 10 degree bank with the nose up about 10 degrees. At the completion of the revolution, the glider will basically fly off your fingers.
The flight pattern is left –right. So, the model should go up and at the same time make a 180 degree left turn, then straighten out and start turning to the right. The amount of rudder is shown on the plans and make sure the right wing is slightly heavier then the left. Make sure you have at least one degree of positive incidence.
Happy flying!